Tired of your cable bill climbing higher every year for hundreds of channels you never watch? For many households, this has become a frustrating reality. There’s a different way to get live TV that promises more choice for less money, and it’s called IPTV. But what is IPTV, and is it as good as it sounds? Here’s a simple breakdown of what you need to know. Discover the best info about atlas iptv.
At its core, Internet Protocol Television—or IPTV for short—is a way to stream live TV channels directly through your internet connection. Think of it like traditional cable TV, but instead of arriving through a coaxial wire or a satellite dish on your roof, the signal arrives through the same Wi-Fi network you use for everything else. This simple shift opens up a world of new possibilities for home entertainment.
This is where services like Atlas IPTV differ from Netflix or Hulu. While Netflix offers a library of movies and shows you can watch anytime (on-demand), IPTV is primarily built for watching live channels as they air—just like you would with a standard TV guide. You get live sports, 24/7 news, and international programming, all happening in real time.
Before you can dive in, you just need a few key pieces to make it all work. Getting started requires three essential components: a compatible device, a player application, and the IPTV service itself. We’ll explain how they fit together, what features to look for, and how to get started.
The Two Parts You MUST Understand: IPTV Service vs. Player App
One of the most confusing parts of getting started is realizing it’s not a one-stop shop like Netflix. For any successful IPTV setup, you must grasp that there are two separate pieces you need: an IPTV service and a player app. They are not the same thing, but they work together to bring TV to your screen.
Think of it like this: the IPTV service (such as Atlas IPTV) is like the movie collection on a DVD. It contains all the channels, shows, and movies you’re paying for. The player app, which you install on your device, is the DVD player itself. By itself, the player is just an empty box; it can’t play anything until you insert the “DVD” by logging in with your service details. There are many Android IPTV player apps to choose from, but they all serve this same purpose.
This distinction is your best tool for troubleshooting. When you run into a problem, like an IPTV service not loading, you can determine if the issue is with the channel provider (the service) or the app you’re using to watch it (the player). Knowing where to look is half the battle. Once you have your service subscription, the only remaining piece is a device to run a player app on.
What Devices Support IPTV? You Probably Own One Already
The good news is that you almost certainly don’t need to buy any special hardware. If you already stream services like Netflix or YouTube, the device you’re using is likely ready for IPTV. The key isn’t a fancy box, but a device that can install a player app.
So, what devices support IPTV players? The list is long, but it includes all the most popular gadgets found in modern living rooms. All these devices can download an Android IPTV player (or a similar app for their system) from their respective app stores. Common compatible devices include:
- Amazon Fire Stick (all models)
- Android TV Boxes & Google TV
- Modern Smart TVs (Samsung, LG, Sony, etc.)
- Smartphones and Tablets (Android & iOS)
Ultimately, the specific device you use is less important than the quality of your internet connection. A fast, stable connection is the true secret to buffer-free streaming. Because the Amazon Fire Stick is an incredibly common and affordable option, it’s a perfect starting point. The next section will show you exactly how to install IPTV on a Firestick.
How to Install IPTV on a Firestick: A 5-Minute Setup Guide
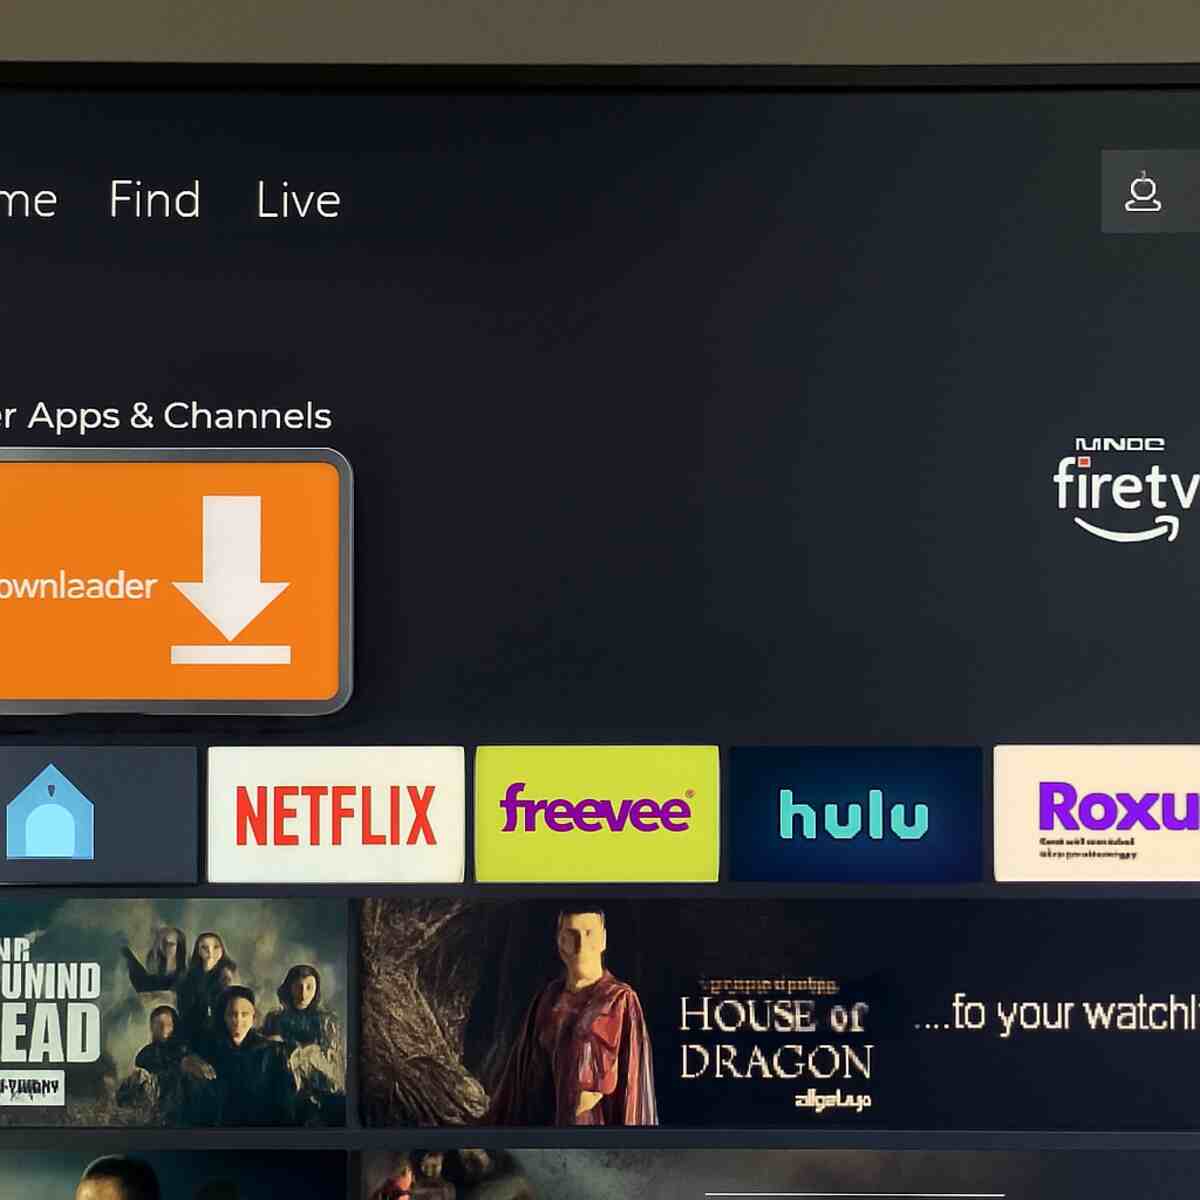
Getting your IPTV service running on a Firestick is surprisingly quick. While some player apps are in the Amazon Appstore, many of the most popular ones require a simple, free tool called Downloader. Think of this as a special browser for your TV that lets you safely install the player app your service recommends. You can easily find the orange Downloader app by using the “Find” or search function on your Firestick’s home screen.
Once you open Downloader, you’ll see an address bar, just like on a computer. Your IPTV provider will almost always give you a short web address or a number code that leads directly to their recommended player app. All you have to do is type that address or code into the bar, hit ‘Go,’ and follow the straightforward on-screen steps to install the player. This one-time setup is usually finished in less than a minute.
With the player app installed, it’s time to connect your IPTV subscription. This is where you’ll use the login information your provider sent in your welcome email. This info might be called an “M3U URL” or “Xtream Codes,” but don’t let the technical names worry you. An M3U URL is just a unique web address for your personal channel list, and Xtream Codes are simply a specific username, password, and server address. They are the keys that unlock all your content.
Finally, open your new player app and choose the option to log in. Carefully type in the M3U or Xtream Codes details you were given, and the app will immediately begin loading all your channels and the TV guide. Just like that, you’re ready to start watching thousands of channels from around the world.
Beyond Live TV: What is an IPTV Video on Demand (VOD) Library?
One of the biggest surprises for new users is discovering their subscription isn’t just for live channels. Most quality IPTV services, including Atlas IPTV, also feature a massive VOD (Video on Demand) library. Think of this as a huge, built-in collection of movies and TV shows, much like you’d find on Netflix or Hulu. This IPTV with video on demand library is one of the most valuable features, combining on-demand binging with live programming all in one place.
Unlike the live channels that follow a set broadcast schedule, everything in the VOD section is available to watch whenever you want. You can browse through thousands of movie titles or pick a TV series and watch every season from start to finish. Just like with other streaming apps, you have full control to pause, fast-forward, and rewind the content, making it perfect for a movie night or catching up on a show you missed.
Finding this treasure trove of content is usually very simple. When you open your player app, you’ll often see clear menu options like “Live TV,” “Movies,” and “TV Series” right on the main screen. Just select “Movies” or “Series” to leave the live channels behind and start browsing the library. While the VOD section is self-explanatory, getting your live channel information to show up correctly in the TV guide is another story.
Why Your TV Guide Is Blank: Fixing a Broken Electronic Program Guide (EPG)
You’ve switched over to Live TV, ready to see what’s on, but something’s wrong—the channel list is there, but all the schedule information is completely blank. This common issue happens when your Electronic Program Guide (EPG) fails to load. Think of the EPG as the digital version of your old cable TV guide; it’s the data that tells you what’s playing now and what’s coming up next on every channel. Without it, you’re flying blind, unable to see what your subscription truly offers.
So why does this happen? The guide data is actually downloaded separately from the channels themselves. A non-working EPG is typically due to a minor hiccup where your player app missed its scheduled update from the server. It’s not a sign that your service is broken, but rather that a piece of information didn’t arrive correctly. Fortunately, this is one of the easiest problems to solve, often requiring just a single click to force a refresh.
To get your schedule back, dive into your player app’s settings and look for an option like “Update EPG” or “Refresh TV Guide.” This is the most direct fix. If you can’t find that button, there’s an even simpler trick: completely close and restart the application. This forces the app to re-download everything from scratch, which almost always repopulates your Atlas IPTV guide. Now that your guide is working, the next common frustration to tackle is when the video itself starts to stutter.
How to Stop Annoying IPTV Buffering Issues for Good
With your TV guide now working, the next common frustration is a stuttering video feed. That dreaded spinning circle, known as buffering, happens when the video data can’t reach your TV fast enough to play smoothly. While it can ruin a climactic scene, the fix is often surprisingly simple, and it starts with understanding the three most likely culprits: your home network, your streaming device, or the IPTV service itself.
Often, the source of the problem is closer to home than you think. Your Wi-Fi network can get congested, just like a busy highway. The single most effective solution for IPTV buffering issues is to perform a full power cycle. Unplug your Wi-Fi router from the wall, wait a full 30 seconds, and plug it back in. This simple action clears out any lingering glitches and gives your entire home network a fresh start, often resolving the issue immediately.
However, sometimes the buffering isn’t your fault at all. Think of the IPTV service’s main computer (its server) like a massively popular restaurant. If thousands of people try to watch the same major sports final at once, the “kitchen” gets overwhelmed. This is called high server load. When this happens during a huge event, the only fix is patience, as the service provider works to handle the demand.
For more persistent slowdowns that don’t seem tied to big events, some users turn to a different tool. In rare cases, your own internet company might be slowing down streaming video traffic. Using a VPN for IPTV can sometimes bypass this by hiding your activity from your provider. But the very idea of needing to mask your traffic brings up a much bigger question about the nature of these streaming services.
The “Gray Area”: Is Using a Service Like Atlas IPTV Legal?
The need to mask your activity naturally leads to the big question: Is any of this legal? It’s crucial to understand that the technology of IPTV itself—the method of sending TV signals over the internet—is completely legal. The issue isn’t the technology, but the source of the content. The central debate around the legality of using IPTV services comes down to whether the provider has properly paid for the rights to broadcast the channels they offer.
This brings us to the real reason these services can be so cheap: content licensing. When Netflix shows a movie, it pays the movie studio millions for the right to do so. These licensing fees are the biggest expense for legal streaming platforms. Many unverified IPTV services can offer low prices because they bypass these costly agreements. This is a vital point in any honest Atlas IPTV review; the low price is a direct result of not paying the official licensing fees that cable companies do.
For you, the user, the biggest risk isn’t typically a knock on the door—it’s unreliability. Because they operate without official licenses, these services can be shut down by authorities at any moment, and your subscription could vanish overnight. This uncertainty and the desire to keep your streaming habits private from your internet provider are the main reasons why people look into using a VPN for IPTV. It adds a layer of privacy to an activity that exists in this complicated gray area.
Why You Should Consider Using a VPN for IPTV Streaming
Given that your internet provider can see your online activity, the topic of privacy becomes a priority for many users. This is where a VPN, or Virtual Private Network, comes into play. Think of a VPN as creating a private, encrypted tunnel for your internet connection. While your internet provider can see you’re using the tunnel, they can’t see what you’re doing inside it. For many, using a VPN for IPTV streaming is a simple step to keep their viewing habits completely private.
Beyond privacy, a VPN has a surprising benefit: it can actually improve your streaming quality. Have you ever noticed your video buffering at certain times of day, even with fast internet? This can be caused by your Internet Service Provider (ISP) intentionally slowing down, or “throttling,” high-bandwidth activities like streaming to manage their network traffic. Since a VPN hides the nature of your traffic, your provider can’t single it out to slow it down, making it a powerful solution for buffering issues.
Ultimately, a VPN accomplishes two key things: it shields your activity from your ISP and can bypass throttling for a smoother picture. To get these benefits without sacrificing speed, it’s important to choose one of the best VPNs for IPTV known for fast performance. With your connection now more secure and stable, you can focus on the content itself.
What Happens When My Subscription Ends? The Renewal Process Explained
Unlike streaming giants like Netflix that automatically charge your card each month, most IPTV services work differently. When your plan—whether it’s for three, six, or twelve months—reaches its end date, it simply stops. There’s no automatic renewal, which means no surprise charges, but it also means your channels will disappear overnight if you forget. Understanding this manual approach is key to uninterrupted viewing.
Thankfully, the IPTV subscription renewal process is usually straightforward. Most providers, like Atlas IPTV, will send you a reminder email as your expiration date approaches. To renew, you’ll visit their website, choose a new subscription length, and complete the payment, much like your initial purchase. This is generally how you pay for IPTV on an ongoing basis.
When you go to renew your Atlas IPTV subscription, you typically only need your original username or email to link the new plan to your account. This ensures you keep your settings and favorites. This manual step also provides a natural checkpoint, giving you the power to decide if you want to continue with your current provider or explore other options.
Exploring Other Options: How to Choose a Good IPTV Provider
Deciding whether to renew or switch gives you the power to find the best IPTV provider alternatives for your specific needs. While the sheer number of options can seem overwhelming, a smart approach can easily separate the reliable services from the risky ones. The single most important tool at your disposal is the free trial. Never commit to a multi-month subscription without first testing the service. A provider that is confident in its quality will almost always let you “try before you buy.”
When you’re evaluating a service, use this simple checklist. A good provider typically:
- Offers a short free trial (24-48 hours) to test stability.
- Has a channel list that matches your needs (e.g., specific international sports channels).
- Officially supports the device you use, like a Fire Stick or Smart TV.
- Provides clear and responsive customer support options.
Finally, be on high alert for one specific offer: the “lifetime” subscription. While it sounds like an incredible deal, it is almost always a major red flag. The world of IPTV is constantly changing, and no provider can realistically guarantee service for life. Often, sellers are simply reselling access from a larger source they don’t control. If that main source disappears, so does your “lifetime” access and your money. A trustworthy provider focuses on delivering quality service on a monthly or yearly basis, not on unrealistic promises.
Your Action Plan: 3 Simple Steps to Get Started with IPTV
IPTV presents a powerful and flexible alternative to traditional TV, built on a simple partnership between a channel service and a player app. While it offers an incredible selection and VOD libraries, it’s important to be aware of potential issues like buffering, EPG errors, and the legal “gray area” surrounding content licensing. Armed with this knowledge, you can make an informed decision.
If you’re curious to see if this is right for you, this simple action plan is your next step to start safely and confidently.
- Check Your Gear: Confirm you have a compatible device (like a Fire TV Stick or Smart TV) and an internet speed of at least 25 Mbps.
- Do Your Research: Find a well-regarded provider that offers a free trial and has the specific channels you want to watch.
- Install and Test: Use the trial login on a recommended player app (like IPTV Smarters) and see how it performs during peak hours.
Following these steps allows you to weigh the incredible channel selection against the real-world performance and risks, giving you the tools to decide if this new way of watching television truly fits your home.