Potatoes require excellent, well-draining soil with consistent irrigation to thrive. In addition, they need plenty of sunlight and some fertilizer. Find out how to plant potatoes.
For optimal results, purchase certified disease-free seed potatoes from home improvement or farm and garden centers and sprout them before planting for optimal growth. Chitting may help accelerate this process.
Soil Preparation
Potatoes grow best in deep, well-draining loam soil. Though it adapts well to different soil types, irrigation may need to be increased more frequently if your site contains sandy, poorly draining, or clayey conditions. It’s wise to test your soil before planting; adding organic matter will enrich it before spring planting, then testing afterward to see whether further amendments may be required.
Potatoes should ideally be planted during autumn; however, they can also be planted throughout spring and summer in frost-free regions. If space in your garden is limited, consider growing some early potatoes in containers like large pots, nursery containers, or even garbage cans; commercial potato growing bags that use heavy polypropylene can also work.
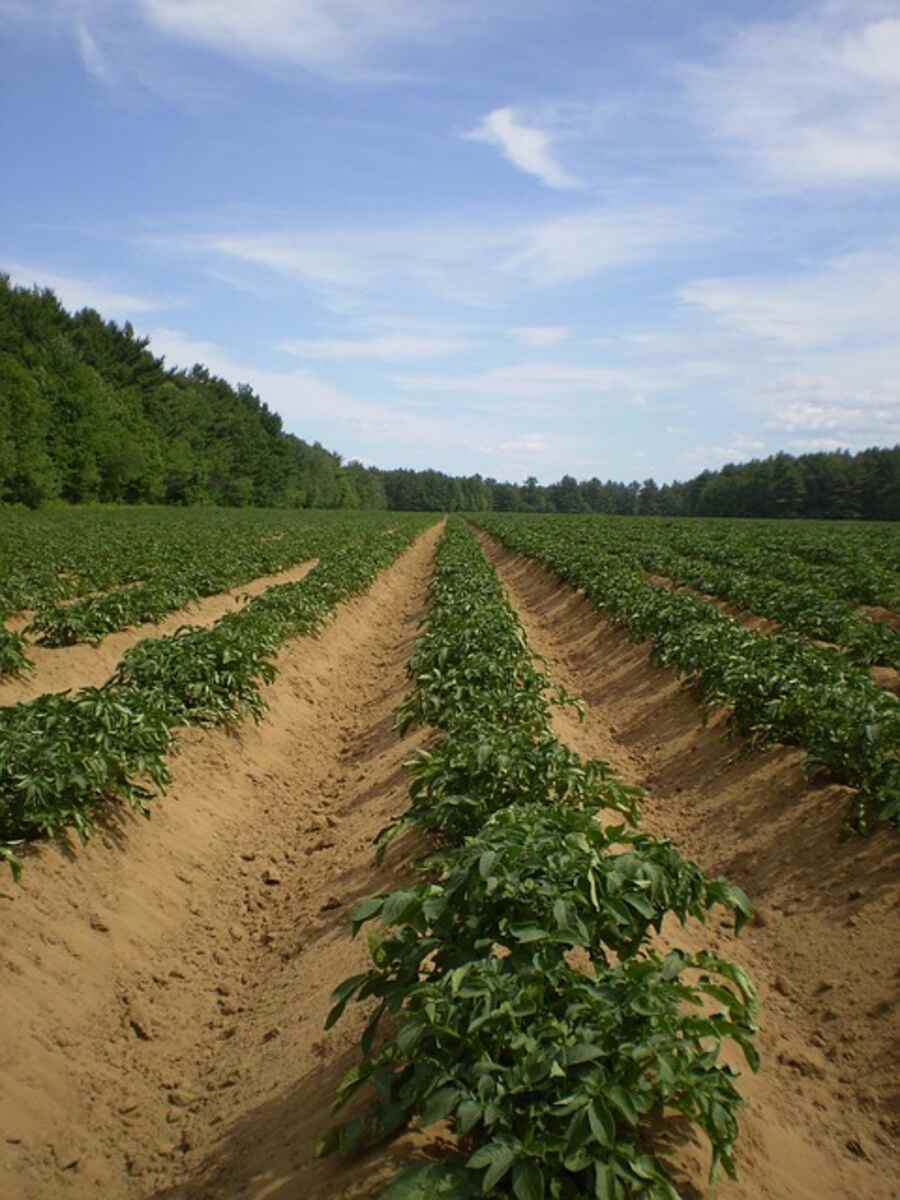
After planting your plants in the ground, they should be earthed up with soil to shield their young shoots from direct sunlight that could turn them green and make them inedible. It’s easy to do using a hoe; dig up around their young shoots and pull the soil over them as your plants expand – repeat this process several times as your plants thrive!
Seed Potatoes
Potatoes thrive best in deep, loose soil with excellent drainage. Although they tolerate a range of pH levels for optimal yields, it’s recommended that they are planted between 4.8 and 5.5 for optimal success.
Before planting your seed potatoes, cut them into 2-inch square pieces using a clean knife and make sure each has one or two eyes (buds). Producing whole potatoes could take longer to sprout and could even rot in the ground – cutting will form calluses over their cuts, improving moisture retention and resistance to decay.
Once your seed potatoes have been cut, store them in a well-lit area until planting time arrives. When growing time comes around, arrange them on a tray or screen so the majority of buds face upwards – this will encourage the potatoes to sprout into sturdy stems that will be easier to break than thin green shoots.
Once it is warm enough, loosen the topsoil to an approximate depth of one foot and lightly cover it with straw to help prevent new potatoes from turning green and becoming unfit to consume while keeping soil temperatures under control until it is time to harvest tubers.
Planting
Start sowing your potatoes around two weeks prior to the last frost in your climate to allow their seed tubers to start sprouting and growing before the previous frost arrives and reduce the risk of rot.
Choose disease-free seed potatoes from a garden center or farmer’s market and add compost or well-rotted manure to acidic garden soil in order to lower its pH to 5.8 to 6.5 for optimal potato cultivation. Potatoes need rich, loose, well-drained soil with plenty of sunlight as well as regular water and moderate fertilization in order to flourish successfully.
When planting, make a hole six inches deep in your soil and drop one seed potato per hole with its eyes (sprouts) facing upwards and cover it with soil. Your potatoes should then be planted 12-18 inches apart, depending on whether you’re planting in rows or beds.
Water your potatoes sparingly at first to encourage deep roots that will help them withstand cold and drought conditions while not overwatering the soil, which could rot them over time.
Start hilling potatoes when their stems reach 6 to 8 inches tall. Pile up soil or heavy layers of straw around each plant until approximately one-third of their lower stem has been covered; this will prevent greening and bittering while encouraging more production of potatoes.
Harvesting
Potatoes thrive best under full sunlight and high heat, as well as plenty of water, especially during periods of intense growth or when conditions are hot and dry. It is best to water potatoes early in the morning after the dew has dried off, as this avoids encouraging fungal disease outbreaks at night.
To harvest potatoes, gently loosen the soil around each plant with a garden fork or spade, starting at its outer edges and working your way inward – being mindful not to puncture any tubers! Once enough potatoes have been exposed, remove them by pulling.
Hilling (or periodically mounding the soil around each planted potato) helps prevent greening. Greening occurs when sunlight hits potato tubers and turns them green (this is harmless; they contain only solanine; however, green potatoes contain solanine as well). By hilling, one-third of each plant should be covered up; hilling also keeps weeds under control.
When the weather turns dry and blight threatens, covering your planting area with straw is essential to protecting it. Be sure that it contains only minimal seed heads – perhaps buying a bale of straw from the store and breaking it up yourself – otherwise, the sprouted straw could potentially destroy your crop, which blight can quickly spread across.